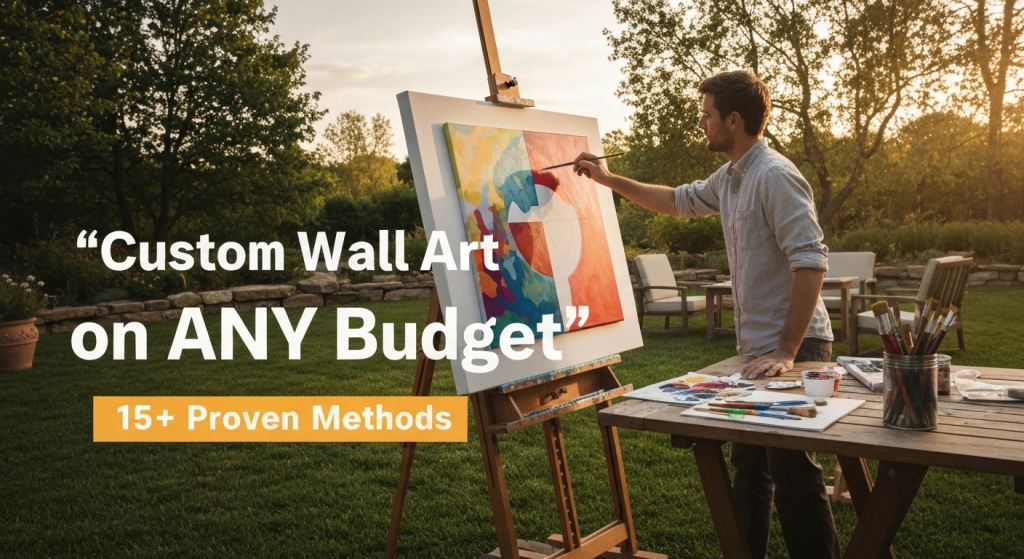
Custom wall art has become the secret weapon for turning boring walls into eye-catching focal points. After five years of helping clients create personalized spaces as an interior design consultant, I’ve discovered that you don’t need thousands of dollars to make your walls pop with personality.
My name is Richard Boren, and I’ve spent the last half-decade working with homeowners, renters, and business owners to create custom wall art solutions that fit every budget imaginable. From $5 DIY projects to $500 statement pieces, I’ve tested, created, and installed hundreds of custom art pieces across residential and commercial spaces.
The beauty of custom wall art lies in its ability to reflect your unique style while solving specific design challenges. Whether you’re dealing with awkward wall spaces, bland rental restrictions, or simply want something no one else has, custom wall art offers endless possibilities.
Understanding Custom Wall Art: More Than Just Pretty Pictures
Custom wall art goes beyond standard prints you find in stores. It’s personalized artwork created specifically for your space, preferences, and lifestyle. This includes everything from family photo collages to hand-painted murals, digital prints with personal quotes, and three-dimensional installations.
The key difference between custom and store-bought art is intentionality. Custom pieces solve specific problems in your space while expressing your personality. They can make small rooms feel larger, dark corners brighter, or sterile spaces more welcoming.
During my years in design consulting, I’ve noticed three main benefits clients experience with custom wall art:
Space Enhancement: Custom pieces can visually expand or define areas within a room. I once helped a client create a series of vertical prints that made their 8-foot ceilings appear 10 feet tall.
Personal Connection: Unlike mass-produced art, custom pieces tell your story. They create conversation starters and emotional connections that guests remember long after visiting.
Budget Control: You decide exactly how much to spend. A $20 custom photo print can have the same visual impact as a $200 store-bought piece when chosen and placed correctly.
Budget Categories: Finding Your Sweet Spot
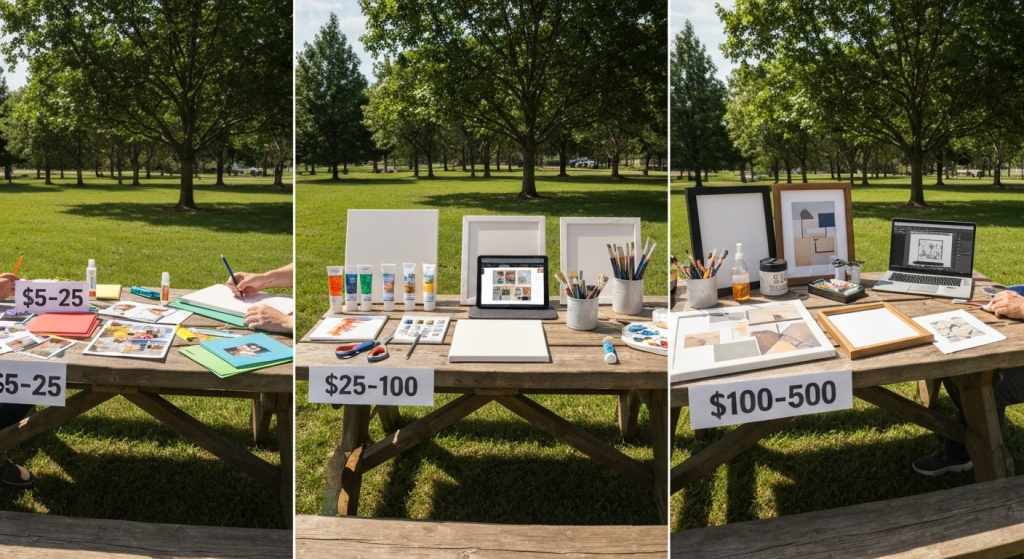
Ultra-Low Budget ($5-$25)
This budget works perfectly for renters, students, or anyone testing the waters with custom art. Your main tools become creativity and time rather than expensive materials.
Digital Prints: Create custom quotes, family photos, or simple graphics using free design software like Canva. Print at local shops or online services for $2-$8 per piece.
Paper Crafts: Scrapbook paper, magazine cutouts, and origami create surprisingly sophisticated wall displays. I helped a college student create a stunning geometric wall installation using colored construction paper that cost $12 total.
Nature Art: Pressed flowers, leaves, and branches arranged in thrift store frames create organic, personalized pieces that change with seasons.
| Ultra-Low Budget Options | Cost Range | Time Investment | Skill Level |
|---|---|---|---|
| Digital Quote Prints | $5-$15 | 1-2 hours | Beginner |
| Paper Collages | $8-$20 | 2-4 hours | Beginner |
| Nature Collections | $5-$25 | 3-5 hours | Beginner |
Mid-Range Budget ($25-$100)
This sweet spot offers the best balance of quality materials and creative freedom. You can experiment with different techniques while creating pieces that look professionally made.
Canvas Painting: Basic acrylic paints and canvases from craft stores provide endless possibilities. Even abstract color blocks create sophisticated focal points.
Photo Enlargements: Professional photo printing services can turn your smartphone photos into gallery-quality prints. A single large print often creates more impact than several small ones.
Mixed Media: Combine different materials like fabric, wood, metal, and paper for unique textures and visual interest.
Higher Budget ($100-$500)
This range opens doors to professional materials, custom framing, and more complex projects that serve as room centerpieces.
Professional Photography: Commission local photographers for custom shoots or prints of your favorite locations.
Custom Commissions: Work with local artists to create one-of-a-kind pieces tailored to your space and preferences.
Quality Materials: Invest in archival papers, professional paints, and custom framing that ensures your art lasts decades.
Essential Tools and Materials for Every Budget
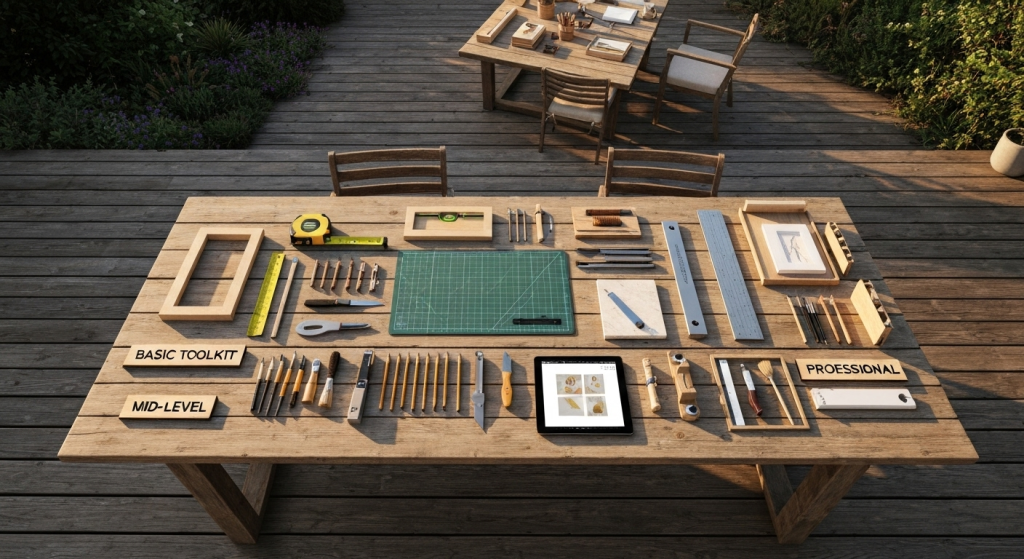
Basic Toolkit (Under $50)
Every custom wall art creator needs these fundamental supplies:
- Measuring tape: Proper placement makes or breaks wall art effectiveness
- Level: Crooked art instantly looks amateur, regardless of quality
- Pencil and eraser: For marking wall placement before committing
- Basic adhesives: Command strips, picture hanging wire, small nails
- Craft knife: Essential for clean cuts and precise work
Mid-Level Additions ($50-$150)
As your projects become more complex, these tools prove invaluable:
- Cutting mat: Protects surfaces and ensures straight cuts
- Metal ruler: More precise than plastic for measuring and cutting
- Quality brushes: If painting, good brushes make noticeable differences
- Mounting supplies: Picture ledges, floating shelves, proper hangers
- Design software subscription: Canva Pro, Adobe Creative Suite basics
Professional Setup ($150+)
For serious custom art creation:
- Printer: High-quality inkjet for printing your own designs
- Paper trimmer: Clean, straight cuts every time
- Professional adhesives: Museum-quality mounting supplies
- Color calibration tools: Ensures prints match your screen colors
- Storage solutions: Flat files, portfolios for protecting finished pieces
Step-by-Step Creation Process
Planning Your Custom Wall Art
Before touching any materials, successful custom wall art starts with thoughtful planning. I always begin client projects with three key questions:
- What specific problem does this wall space have?
- What mood or feeling should this area create?
- Who will see this space most often?
Measure your wall space carefully. I’ve seen countless beautiful pieces that looked wrong simply because they were the wrong size for their location. A good rule of thumb: art should cover 60-75% of the wall space above furniture, or stand alone as a focal point on empty walls.
Consider your room’s existing colors, patterns, and textures. Your custom art should complement, not compete with, your space’s overall design. Take photos of the wall from different angles and times of day to understand how lighting affects the space.
Design Development Process
Start with rough sketches or digital mockups. Even if you’re not artistic, simple drawings help visualize proportions and composition. I often have clients create mood boards using magazine clippings or Pinterest images to clarify their vision.
For digital designs, work in the actual dimensions you plan to print. A design that looks perfect on your phone screen might lose important details when enlarged to wall size.
Color selection requires special attention. Colors that look vibrant on your computer monitor might print differently. Order small test prints before committing to large, expensive pieces.
Creation Techniques by Medium
Digital Art Creation: Begin with high-resolution images (300 DPI minimum for print quality). Use design software like Canva, GIMP, or Adobe Creative Suite. Build your design using layers, making it easy to adjust individual elements without starting over.
Export files in the correct format for your printing method. JPEG works for most photo printing, while PDF preserves vector graphics for sharp text and lines.
Physical Art Techniques: Prepare your workspace with proper lighting and ventilation. Lay out all materials before beginning to ensure smooth workflow.
For painting projects, start with light colors and build to darker tones. This approach allows for easier corrections and color blending.
When working with mixed media, consider how different materials will age over time. Some combinations may not be archival quality but work perfectly for temporary or low-cost solutions.
Popular Custom Wall Art Ideas That Always Work
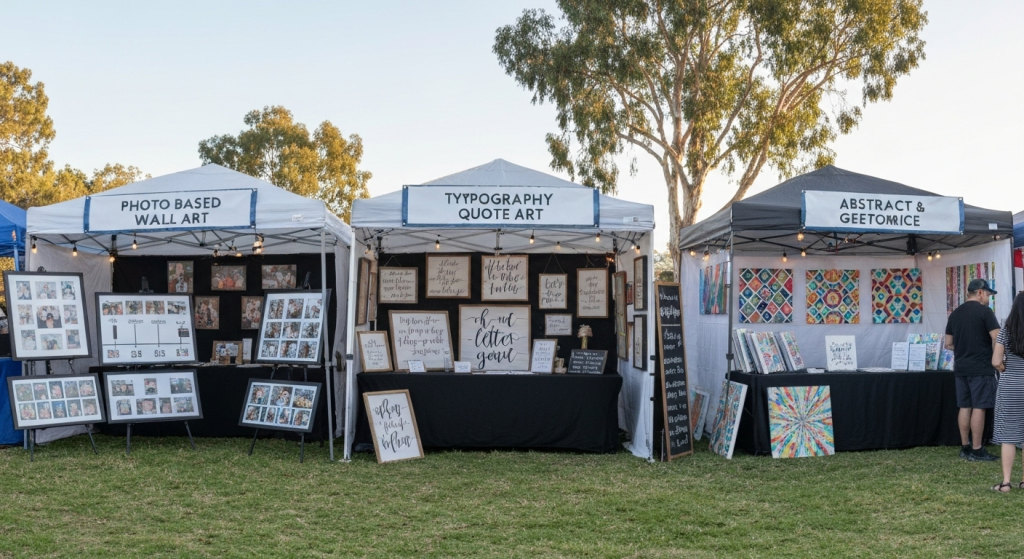
Photo-Based Creations
Family photos remain the most popular custom wall art choice, but presentation makes all the difference. Instead of traditional single photos in frames, try these approaches:
Photo Grids: Nine or twelve related photos arranged in a perfect square create modern, gallery-like displays. I recently helped a client create a stunning travel photo grid showing their favorite destinations over the past decade.
Timeline Displays: Arrange photos chronologically to tell a story. Baby photos growing into family portraits, or seasonal shots of the same location work beautifully.
Large Format Prints: One oversized photo often creates more impact than multiple small ones. A 24×36 inch family portrait can anchor an entire living room wall.
Typography and Quote Art
Custom lettering and meaningful quotes offer unlimited personalization opportunities. The key lies in choosing fonts and layouts that match your space’s personality.
Family Names and Dates: Wedding dates, family established signs, or children’s names create personal touches that never go out of style.
Inspirational Quotes: Choose quotes that genuinely resonate with your daily life rather than generic motivational phrases everyone uses.
Song Lyrics or Poems: Personal favorites from your wedding song or meaningful literature create conversation pieces with deep emotional connections.
| Typography Project Types | Best Fonts | Recommended Sizes | Ideal Locations |
|---|---|---|---|
| Family Names | Serif, Script | 16×20 to 24×36 | Entryway, Living Room |
| Inspirational Quotes | Sans Serif, Modern | 8×10 to 16×20 | Office, Bedroom |
| Song Lyrics | Script, Handwritten | 11×14 to 18×24 | Bedroom, Reading Nook |
Abstract and Geometric Designs
Don’t let “abstract” intimidate you. Simple geometric shapes, color blocks, and patterns create sophisticated custom art without requiring advanced artistic skills.
Color Field Paintings: Large blocks of complementary colors add visual interest while supporting your room’s color scheme.
Geometric Patterns: Triangles, hexagons, and other shapes arranged in patterns create modern, architectural wall features.
Texture Experiments: Use different painting techniques, stamps, or stencils to create unique surface textures that add depth to simple designs.
Installation and Placement Strategies
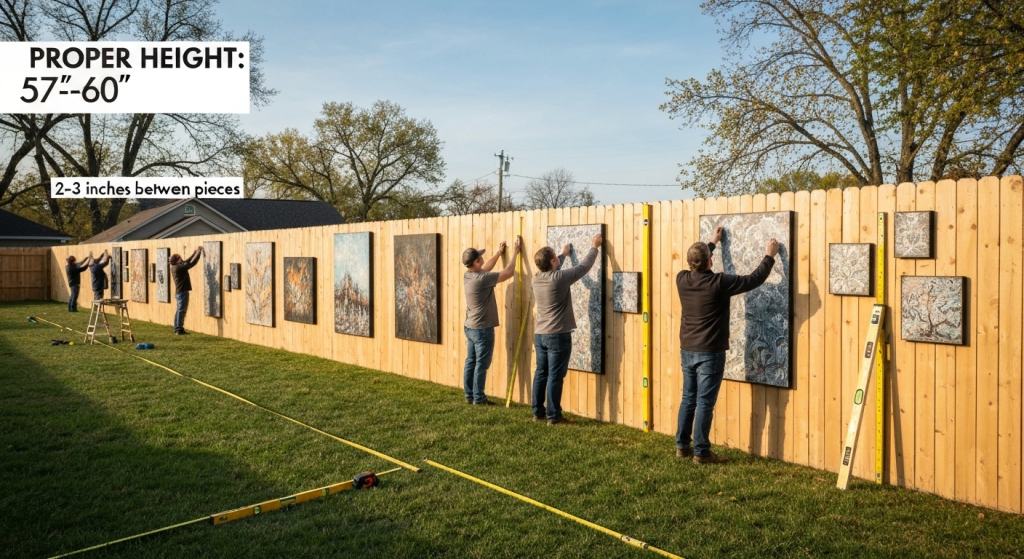
Proper Height and Spacing
The most common mistake I see in wall art placement is hanging pieces too high. Art should relate to the people viewing it, not the ceiling.
For art above furniture, hang pieces 6-8 inches above the furniture top. For hallways and standing areas, center art at 57-60 inches from the floor to the center of the piece.
When creating gallery walls or multiple piece displays, maintain consistent spacing between pieces. I typically use 2-3 inches between frames for cohesive looks.
Lighting Considerations
Natural light changes throughout the day, affecting how your custom art appears. Test placement at different times to ensure your pieces look good in all lighting conditions.
For areas with limited natural light, consider adding picture lights or adjusting room lighting to highlight your custom pieces. LED strip lights behind floating art create dramatic backlighting effects.
Avoid placing art in direct sunlight, which can fade colors over time. If sun exposure is unavoidable, use UV-protective glass or acrylic for framing.
Creating Gallery Walls
Gallery walls allow multiple custom pieces to work together as one large installation. Start by laying out all pieces on the floor in your desired arrangement before hanging anything.
Use paper templates taped to the wall to test arrangements without putting holes in the wall. This method lets you experiment with spacing and composition until everything looks perfect.
Mix different sizes and orientations for visual interest, but maintain some common elements like similar frames or a consistent color palette to tie everything together.
Maintenance and Longevity Tips
Protecting Your Investment
Custom wall art represents time, creativity, and financial investment. Proper care ensures your pieces remain beautiful for years.
Dust Regularly: Use soft, dry cloths or feather dusters weekly. For glass-covered pieces, use streak-free glass cleaner sparingly.
Monitor Environmental Conditions: Extreme temperature or humidity changes can damage paper, canvas, and frame materials. Maintain consistent indoor climate when possible.
Rotate Seasonal Pieces: If you create multiple custom pieces, rotating displays prevents overexposure to light and adds seasonal interest to your space.
When to Update or Replace
Even custom art needs refreshing occasionally. I recommend evaluating your wall art annually:
Signs it’s time for changes include fading colors, outdated photos (especially family pictures), or shifts in your personal style or room decor.
Rather than completely replacing custom pieces, consider updating frames, rearranging layouts, or adding new pieces to existing displays.
Common Mistakes and How to Avoid Them
Sizing Errors
The biggest mistake I encounter is choosing art that’s too small for the wall space. Small pieces look lost on large walls, while oversized art can overwhelm small spaces.
Solution: Measure twice, buy once. Use painters tape to outline proposed art dimensions on your wall before purchasing or creating pieces.
Color Mismatches
Colors that look perfect in the store or on your computer screen might clash with your actual room colors and lighting.
Solution: Order small samples or test prints before committing to large pieces. View samples in your actual space at different times of day.
Poor Quality Materials
Saving money on materials often backfires when pieces fade, warp, or deteriorate quickly.
Solution: Invest in quality basics like acid-free paper, UV-resistant inks, and proper mounting materials. These foundational elements determine longevity more than artistic complexity.
Inconsistent Themes
Creating custom art over time can result in mismatched pieces that don’t work well together.
Solution: Develop a consistent color palette, style theme, or subject matter that can unite different pieces created at different times.
Advanced Techniques for Experienced Creators
Mixed Media Approaches
Once you’re comfortable with basic custom art creation, mixed media opens exciting possibilities. Combine photography with painting, add three-dimensional elements to flat pieces, or incorporate unusual materials like fabric or metal.
Layering Techniques: Build depth by layering transparent materials, using different textures, or creating shadow box effects with multiple planes.
Texture Integration: Add sand to paint for beach themes, use fabric pieces for softness, or incorporate natural elements like dried flowers or leaves.
Digital Enhancement Methods
Modern technology offers powerful tools for enhancing custom art:
Photo Manipulation: Adjust colors, remove backgrounds, or combine multiple images into cohesive compositions.
Vector Graphics: Create infinitely scalable designs perfect for very large prints or multiple size variations.
3D Rendering: Design dimensional pieces digitally before building physical versions, saving time and materials.
Professional Finishing Touches
Details separate amateur-looking custom art from professional-quality pieces:
Custom Matting: Professional mats in complementary colors enhance the overall presentation significantly.
Quality Framing: Invest in frames that enhance rather than detract from your custom art. Simple, well-made frames often work better than ornate options.
Mounting Techniques: Learn proper mounting methods that prevent warping, bubbling, or other damage over time.
Frequently Asked Questions
What’s the best size for custom wall art in a living room? For living rooms, aim for pieces that are 60-75% the width of your sofa or main furniture piece. A 72-inch sofa works well with art that’s 45-54 inches wide total.
How do I create custom art if I’m not artistic? Focus on simple techniques like photo collages, quote printing, or geometric patterns. Many stunning custom pieces require more creativity than artistic skill.
What’s the most budget-friendly way to create large wall art? Engineer prints from office supply stores offer the cheapest way to create large pieces. A 24×36 inch print typically costs $8-15, much less than traditional photo printing.
How long does custom wall art typically last? With quality materials and proper care, custom wall art can last 10-20 years or longer. UV-resistant inks, acid-free papers, and appropriate framing significantly extend lifespan.
Conclusion
Creating custom wall art on any budget transforms your space while expressing your unique personality. Whether you’re working with $10 or $1000, the key lies in thoughtful planning, quality execution, and proper placement.
Start small with simple projects to build confidence and skills. As you gain experience, gradually tackle more complex techniques and invest in better materials. Remember that the most impactful custom wall art solves specific problems in your space while reflecting who you are.
Your walls are blank canvases waiting for your personal touch. With these techniques and strategies, you have everything needed to create stunning custom wall art that friends and family will admire for years to come.
The beauty of custom wall art lies not just in its visual impact, but in the satisfaction of creating something uniquely yours that perfectly fits your space and budget.